1. Applying and Visualizing Semantic Data
1.1. Learning Objectives
This tutorial introduces the Synthetic Data interface for Isaac-Sim. After this tutorial, you will know how to define, apply, and visualize semantic data in Isaac-sim.
15-20 Minute Tutorial
1.2. Getting Started
1.2.1. The Editor
Semantic annotations (data “of interest” pertaining to a given mesh) are required to properly use the synthetic data extension. These annotations inform the extension about what objects in the scene need bounding boxes, pose estimations, etc… The Semantic Schema Editor provides a way to apply these annotations to prims on the stage through a UI.
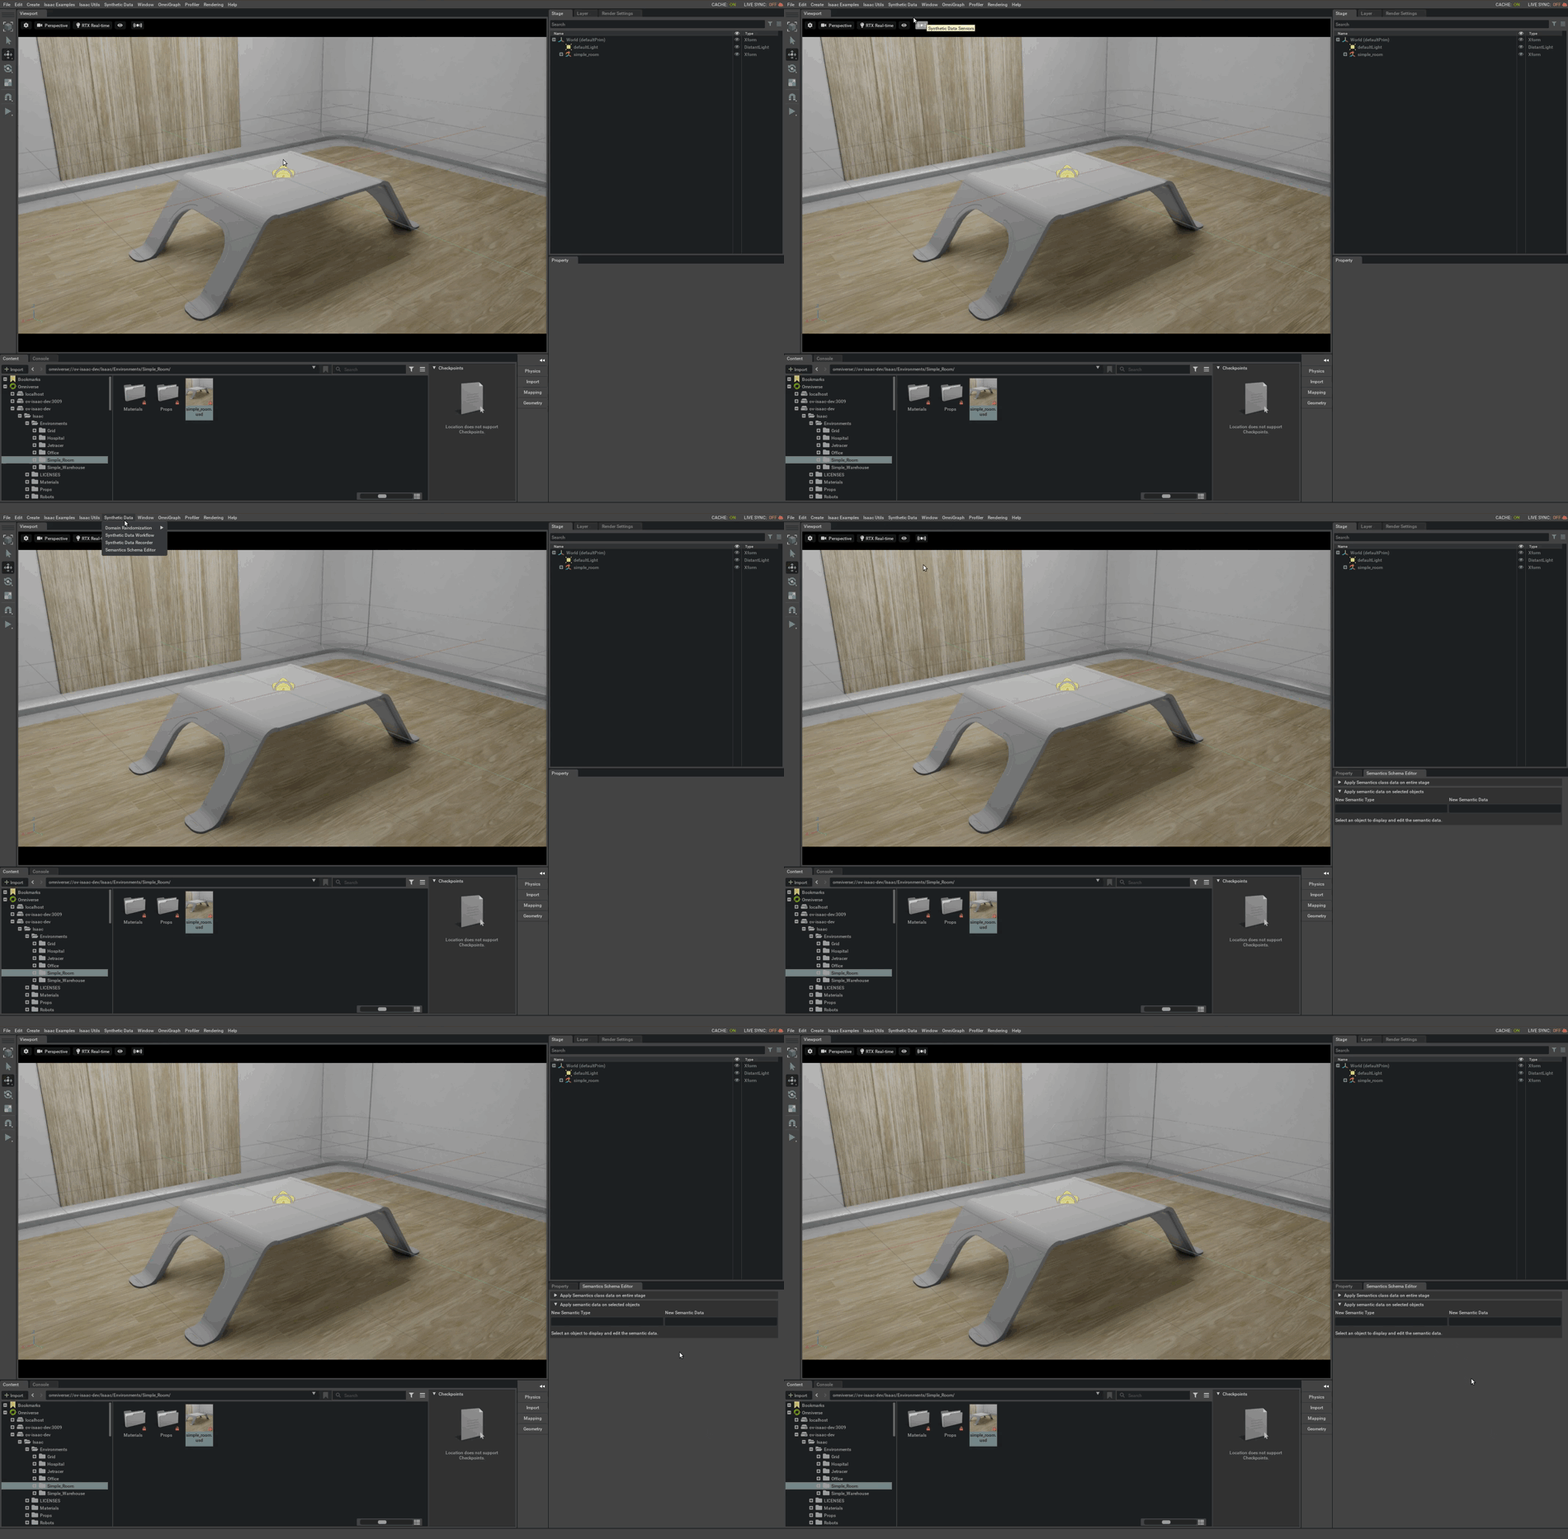
To access the editor, navigate to Synthetic Data > Semantics Schema Editor at the top of Kit. The editor will appear as a tab in the Properties pane by default.

Semantic annotations can be applied either manually to a collection of selected prims or automatically by the path and type of each prim on the stage
1.2.2. The Visualizer
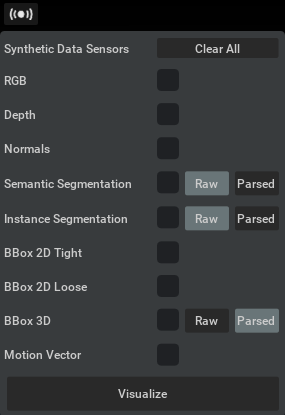
Visualizing the output of synthetic sensors is done through the  Visualizer tool in the Viewport window.

Sensor channels that can be rendered to an image are listed here. Activating a channel and pressing the visualize button will
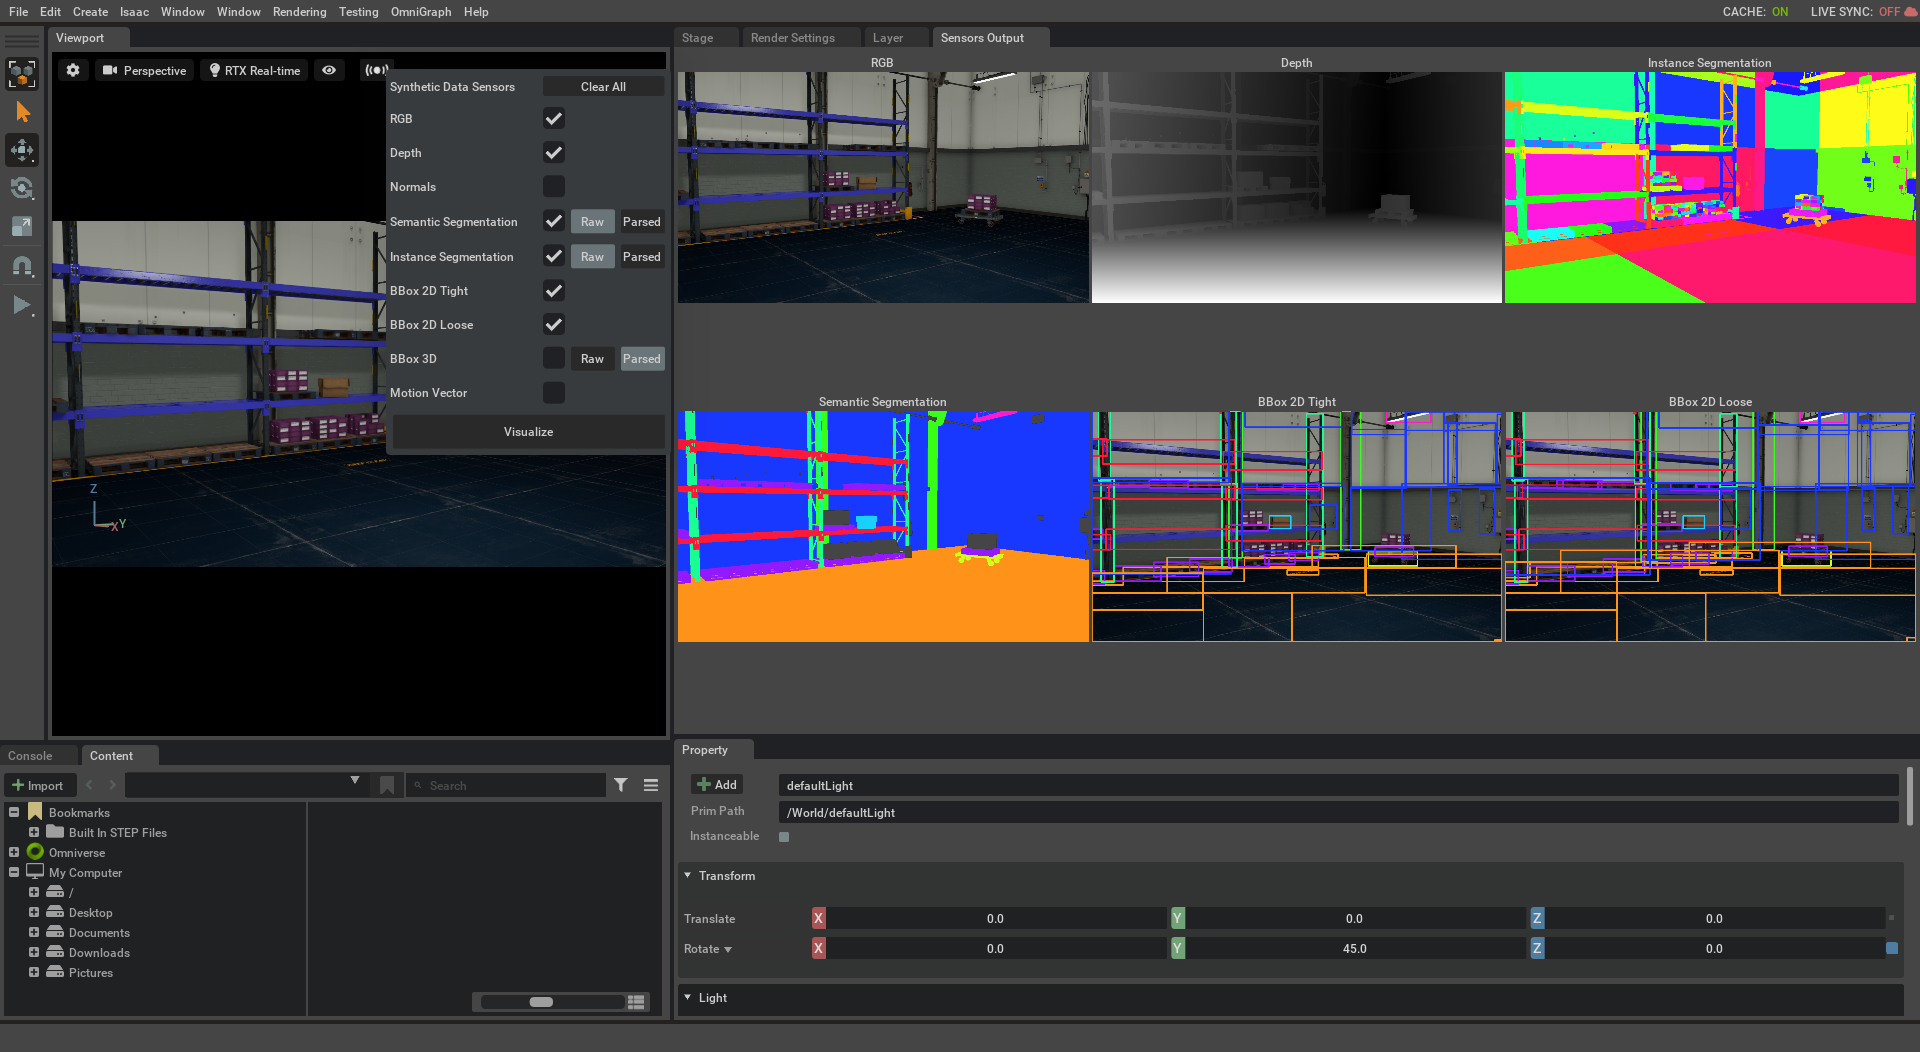
render those channels in a test image, like the one shown below

By default, the extension supports nine sensors for visualization - RGB, Depth, Semantic and Instance Segmentation, 2D Tight and Loose bounding box, 3D bounding box, Normals and Motion Vector.
RGB This is just the standard view from the viewport camera. Note that selected prims and the viewport grid are also captured by this camera, and need to be disabled manually in the adjacent ‘show/hide’ menu
Depth
The depth image represents the distance an object is from the camera. Linear means objects that are farther away have a greater depth and so appear brighter.
Inverse is the opposite (closer is brighter)
Semantic and Instance Segmentation
the 2D segmentation regions for each type of object in the scene, and each instance of each object in the scene respectively. Raw here means that semantics
are not inherited from parent prims, while Parsed does.
2D Bounding Boxes
2D bounding boxes are the 2D region in the image that holds an object with a semantic label. Tight means that the box will occlude or intersect parts
of the object to reduce the amount of space in the bbox that the object doesn’t occupy. Loose is the opposite, expanding the box to make sure that all
parts of the mesh are captured
3D Bounding Boxes
3D bounding boxes define a set of 8 points that define the corners of a 3D box that holds an object with a semantic label. Raw and Parsed here means the same
as it did for semantic segmentation.
Normals This colors each pixel corresponding to the direction each surface in the stage is facing
Motion Vector This is the optical flow, and only really applies to scenes with dynamics.
1.2.3. Initial Setup
We begin by loading a sample scene to which we can apply semantic data. From the content, browser navigate to
Isaac/Environments/Simple_Room.
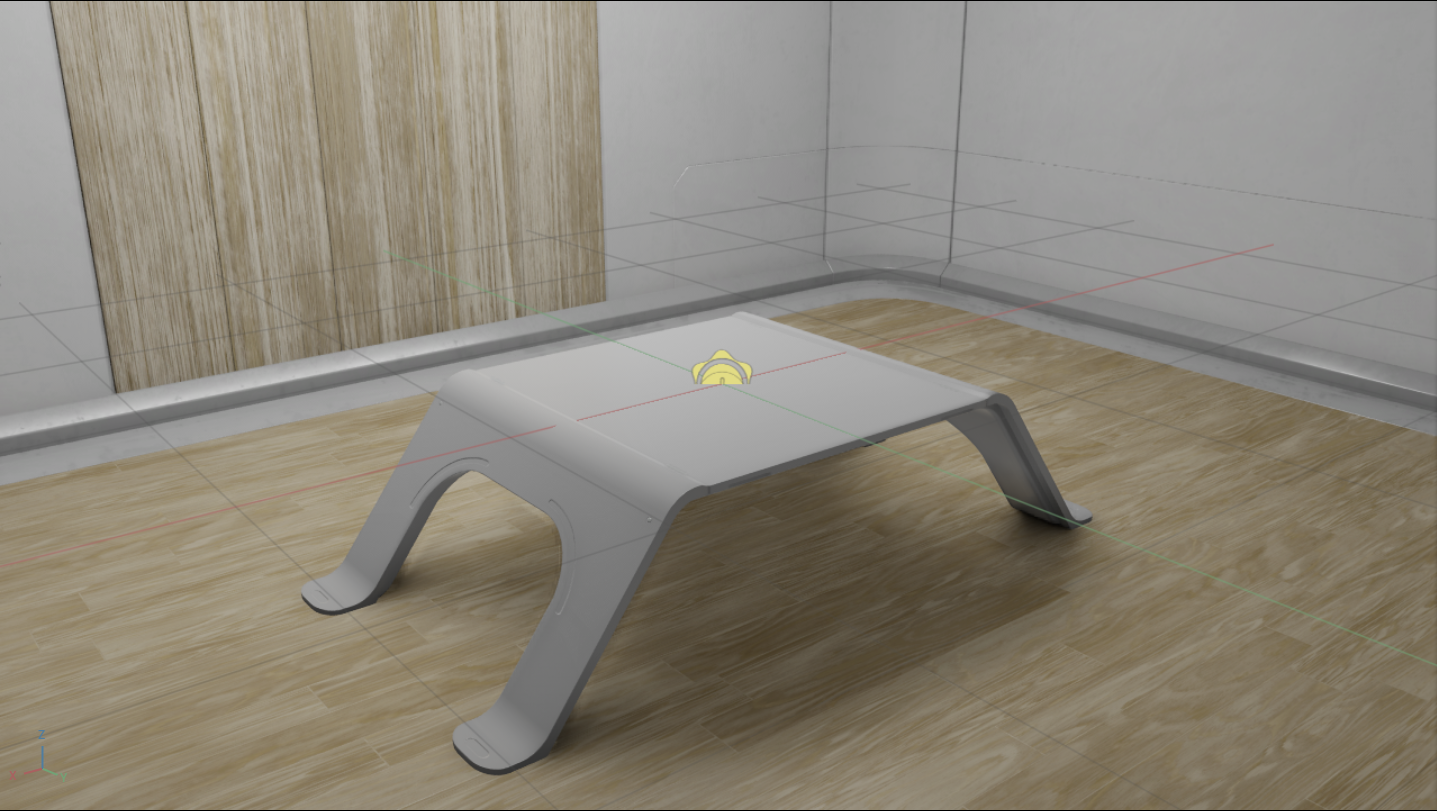
Drag simple_room.usd onto the viewport and set the location of the asset to the origin (0,0,0). Navigate the viewport
camera to capture the table, walls, and floor as below.

Note
For a detailed overview of how to navigate the UI and interact with prims, check out the Isaac Sim Interface
This stage doesn’t come with any pre-loaded semantic information. We can verify this using the Synthetic Data Visualizer tool.
For both scenarios below, click on  icon in the
 Viewport window, check RGB and Semantic Segmentation sensors and press Visualize.
This will show output from both sensors. The Semantic Segmentation output is red (represents background class) which signifies
that the assets don’t contain semantic information.
1.3. Usage
1.3.1. Apply semantic data on selected objects
After enabling the Semantic Schema Editor extension, select the table (prim location is /Root/table_low_327/table_low and prim type is Mesh)
and then in Semantic Schema Editor UI, specify the Type field as class and the Data field as table. This will apply semantic label to the table asset.
We can verify using two approaches.
Use the
Visualize Synthetic Datatool, checkRGBandSemantic Segmentationsensors and pressVisualize. TheSemantic Segmentationoutput is red except the table section of the image which is orange in color.Select
/Root/table_low_327/table_lowprim and go toDetailstab. The attributessemantic:Semantics:params:semanticDataandsemantic:Semantics:params:semanticTypewill be set totableandclassrespectively.
1.3.2. Apply semantic data on entire stage
We use a heuristic based approach to assign semantic labels to different objects in the scene on pressing Generate Labels button. The
field Prim types to label specifies which USD object type will be assigned a semantic label. The field Class list specifies a list of class names.
If an object in the scene contains any of these class names, then its semantic label will be assigned to that class name.
After enabling the Semantic Schema Editor extension, specify the Prim types to label field
as Mesh, the Class list field as table,floor,wall and press Generate Labels. For all assets in the scene, Generate Labels will check if
the path of an asset of type Mesh contains any of the class names specified in the Class list field and then its semantic label will be assigned to that class name.
We can verify using two approaches.
Use the
Visualize Synthetic Datatool, checkRGBandSemantic Segmentationsensors and pressVisualize. TheSemantic Segmentationoutput will show different colors corresponding to different classes.We can also check attributes for some of the assets. For example, select
/Root/table_low_327/table_lowprim and go toDetailstab. The attributessemantic:Semantics:params:semanticDataandsemantic:Semantics:params:semanticTypewill be set totableandclassrespectively. Similarly, select/Root/Towel_Room01_floor_bottom_218/Towel_Room01_floor_bottomprim and go toDetailstab. The attributessemantic:Semantics:params:semanticDataandsemantic:Semantics:params:semanticTypewill be set tofloorandclassrespectively.
1.4. Summary
This tutorial covered the following topics:
How to access the semantic schema editor
How to apply semantic labels to specific prims
How to automatically apply labels to all prims
How to visualize semantic data within the UI
1.4.1. Further Learning
Check out the Synthetic Data Recorder to automate data acquisition for a stage.
