Product Configurator Viewer
The Product Configurator Viewer is an Extension bundle that you use to build dynamically generated User Interfaces for product configurations. The two included Extensions are:
Panel (
omni.product_configurator.panel)Utilities (
omni.product_configurator.utils)
Setup
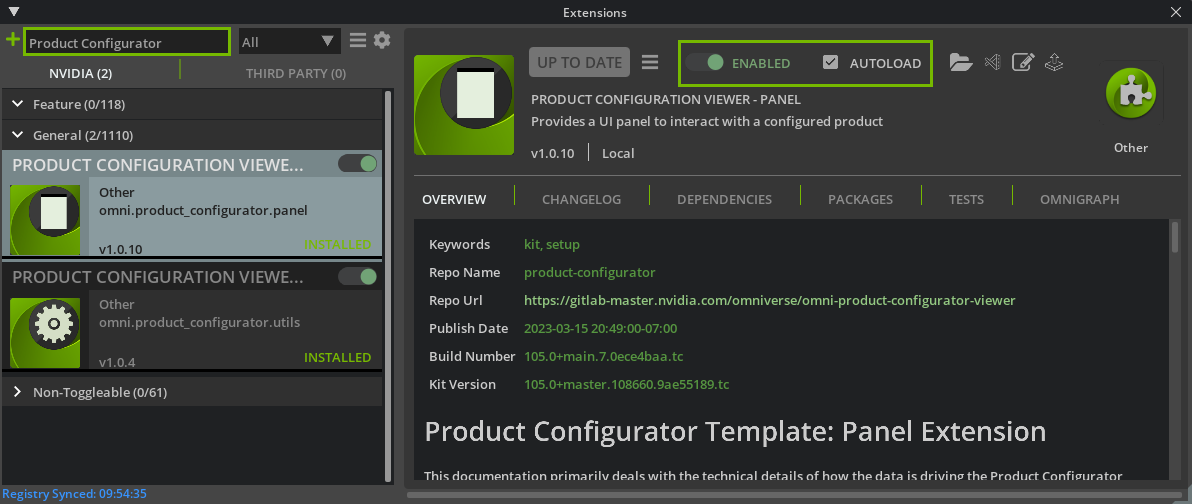
In USD Composer, go to the extension panel (Window -> Extensions) and search for “Product Configurator”. You will see two extensions, panel and utils. Select each and switch “Enabled” to on and, optionally, check “Autoload”.
Any stage that contains the data structure will now trigger the visibility of the panel.

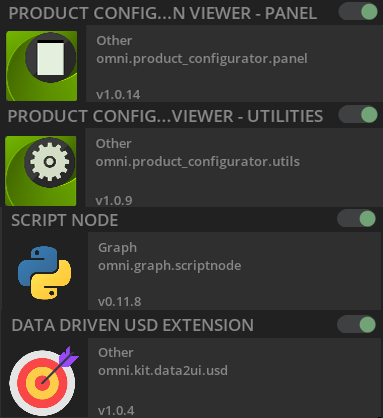
In the same panel, also enable the script node (scriptnode) as well as the nocode ui extensions (data2ui).

Product Configurator Viewer Panel
Tools -> Product Configurator -> Panel
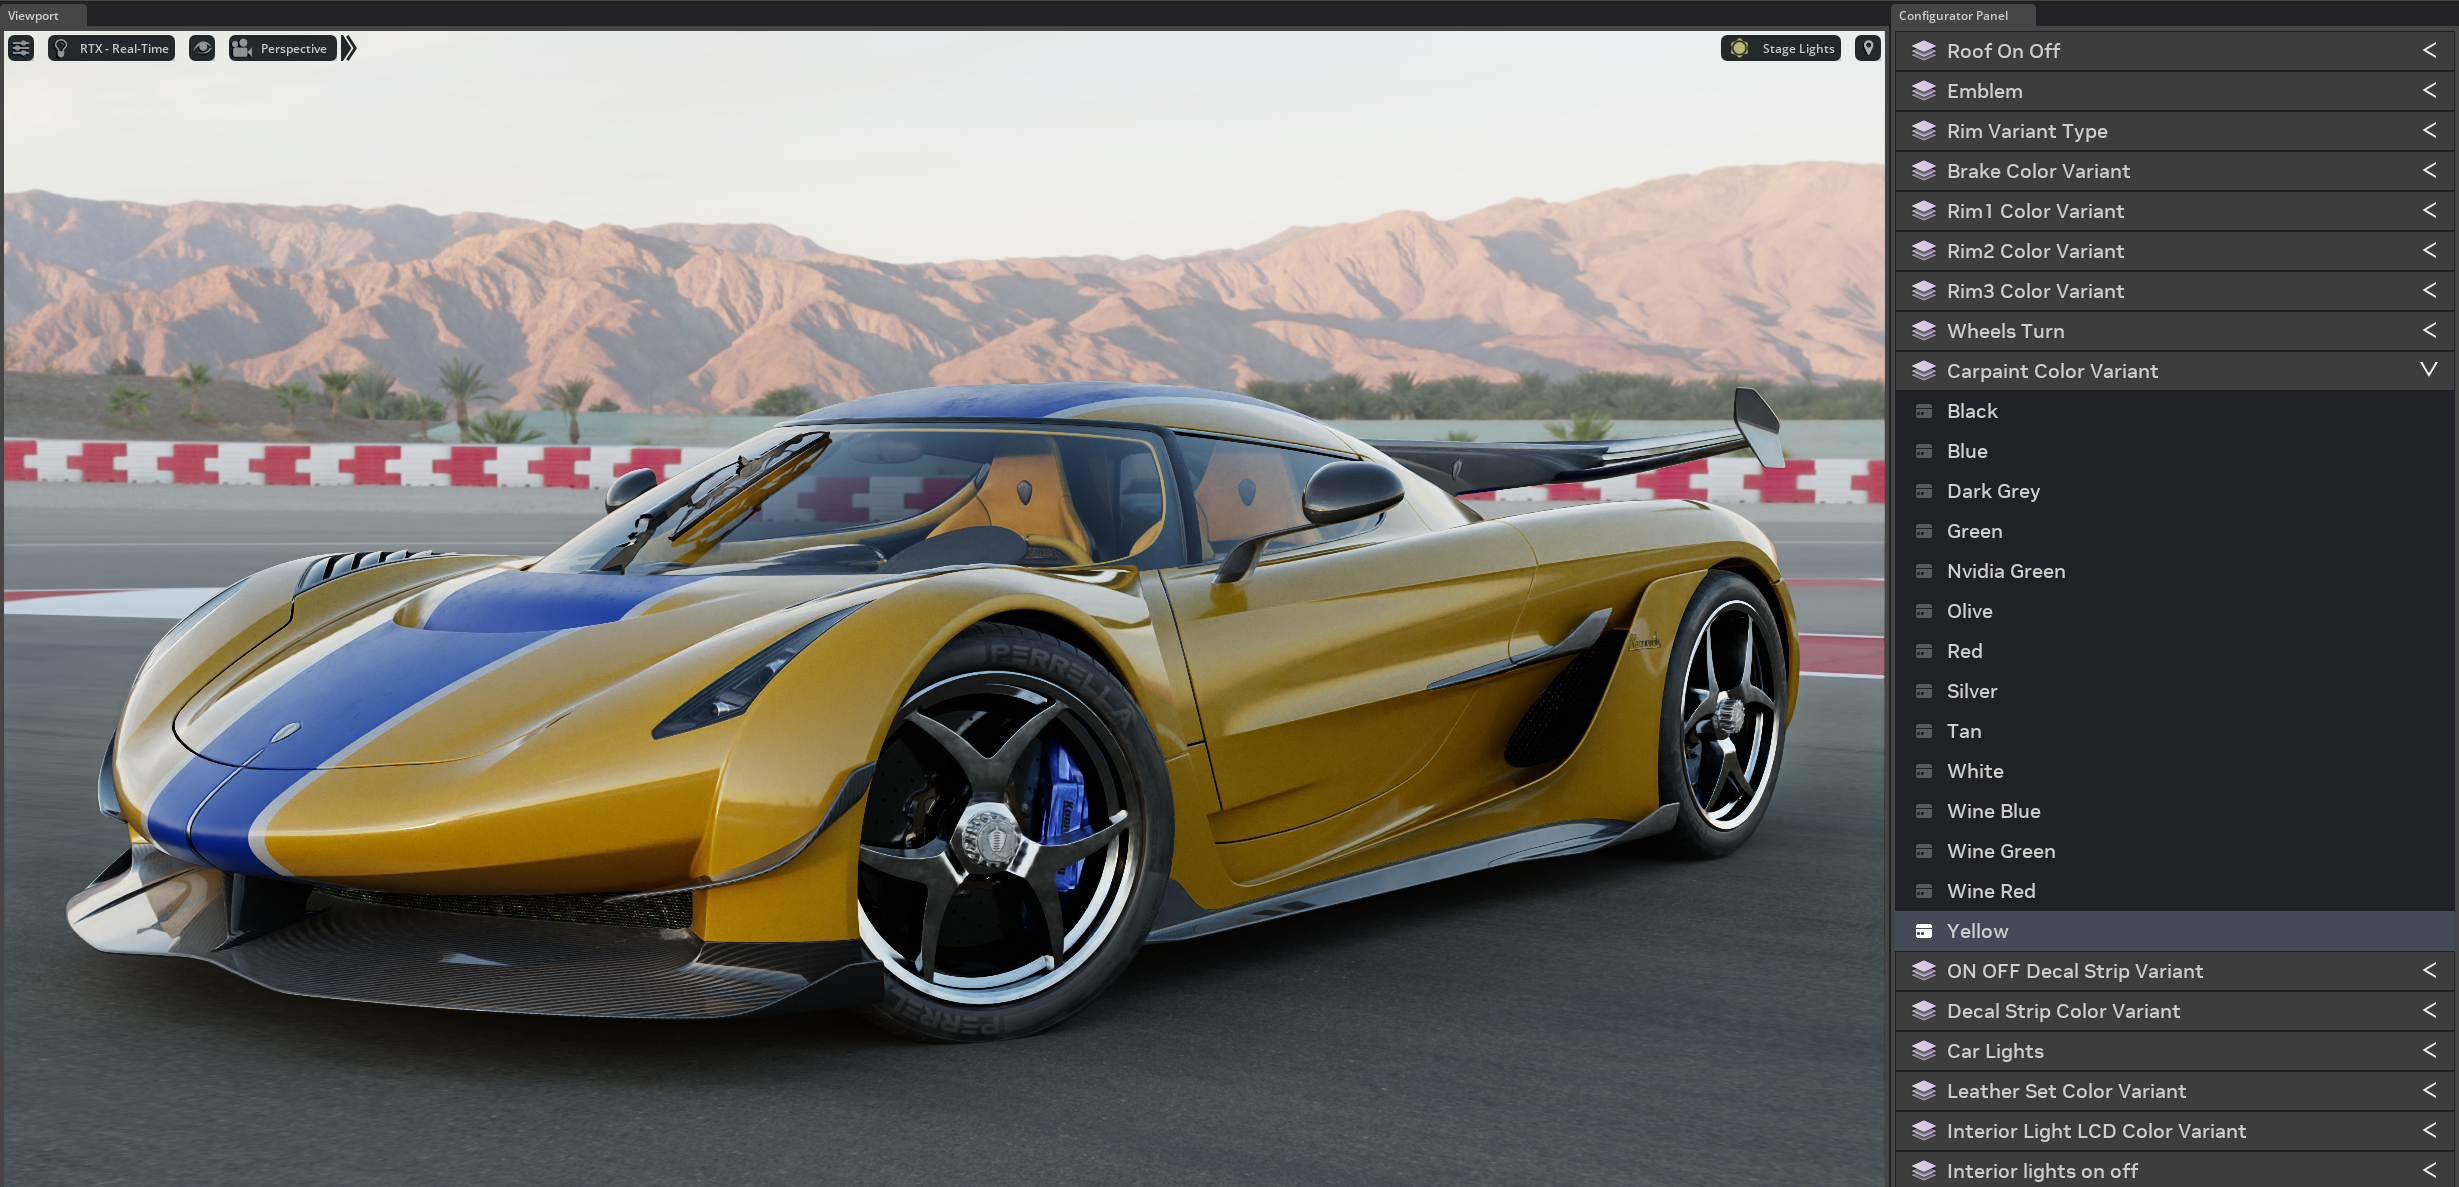
The UI is dynamically built based on the data structure in the current stage. When clicking categories and options in the UI, properties are being set in the data structure which makes the graphs react and set variants for a specific option.
The extension is also listening for changes to the data structure and dynamically updates when you manually duplicate or delete categories and options in the hierarchy. Property changes are also picked up so if you add icons or change UI label properties, those changes are immediately reflected in the UI.

Configurator Utilities
There is a series of utilities that are designed to minimize manual input when creating your product configuration. Remember to start out in the starting usd stage - configurator_empty.usd:
Utility |
Description |
|---|---|
Create Data Structure |
Sets up the hierarchy for you. Using the variants present in the scene you will get one category per variant set and under that one option per variant. If there are groups present, you can also create the data structure based on that. |
Add Category |
Add a new category. The category can be blank, based on a variant set, or group. The variant set will also get you one option per variant in the variant set. Note that this utility can also be used as a first step. If no root is found, one will be created. |
Add Option |
Add a new option. Choose a prim parent (defaults to default prim). |
Create Behavior Library From Variants |
Adds a new behavior prim for each variant in the scene into a folder named Behavior Library. |
Create Nocode UI |
Creates a no code UI prim hierarchy. |
Create Data Structure
Tools -> Product Configurator -> Utilities -> Create Data Structure
In a scene with an asset containing variant sets with variants:
Source data folder - The folder containing the database structure prims
Source graph folder - The folder containing the graphs
After you click the Create Data Structure button, save the stage (or save as) and you should see the Product Configurator Panel pop open (if that extension is loaded). Click the different option to test the initial set up.
In the Behavior_Library folder you will see a number of behaviors that map to different variants. Drop them into the data structure under the options that were set up for you. You will already have behaviors that were added as part of the setup, but now you can remove categories and have a single option set multiple variant behaviors. As you work, you will see the product configurator panel update in real time to match the data structure.

Add Category
Tools -> Product Configurator -> Utilities -> Add Category
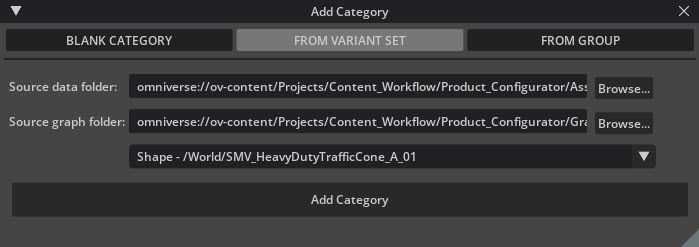
In a scene with an asset containing variant sets with variants. Groups are also supported to guide the configuration:
Source data folder - The folder containing the database structure prims
Source graph folder - The folder containing the graphs
Combo Box - The combo box will contain variant sets or groups depending on your option above. If there are over 20 variant sets in the scene you can select the variant set from a browser that becomes available to you via the Select… button.
Saving your stage will update the graphs.

Tip
You can run this utility as a first step, because it will also create the root of the data structure if not already present in your stage.
Warning
If you manually rename the category prim, you have to also update the graph properties that maps to the category.
If you duplicate a category prim, remember that you also have to bring in a graph and set the properties on the graph prim to the newly duplicated category. The utilities automates this process.
Make sure you stay with the prefix name category_. The panel is only considering prims that begin with this prefix.
Add Option
Tools -> Product Configurator -> Utilities -> Add Option
In a scene with an asset containing variant sets with variants.:
Source data folder - The folder containing the database structure prims
Parent Under - The combo box will contain all categories in the stage and defaults to the default prim.

Warning
Make sure you stay with the prefix name option_. The panel is only considering prims that begin with this prefix.
Create Behavior Library From Variants
Tools -> Product Configurator -> Utilities -> Create Behavior Library From Variants
In a scene with an asset containing variant sets with variants:
Behavior File - Browse to the behavior.usd file in the source data folder.
Creates a behavior prim for each variant in each variant set. Dropping these behavior prims into your options, makes these variants being set when selecting the option.
Each prim is named behavior_{asset_prim_name}_{variant_set_name}_{variant_name} and put in a folder called Behavior Library. From there you can duplicate these behavior prims and drop them into your various option folders.

Tip
This tool can be run multiple times - it only sets up prims that are not present in the library folder so if you added a new variant set after having run the tool, only behavior prims for that variant set will be added. You can also choose to remove invalid behavior prims, which can happen if variants get removed from your asset. The invalid behavior prims will be removed both from the library folder and from within the data structure.
The behavior library is automatically created when you run the Create Data Structure utility.
Create Nocode UI
Tools -> Product Configurator -> Utilities -> Create Nocode UI
In a scene containing a data structure:
Source UI Folder - Browse to the UI folder - contains UI.usd, categoryPanel.usd, and optionSelection.usd.
Creates a nocode UI structure so that your user interface becomes encoded in the USD file. This UI gets mapped to your viewport. Make sure that you check the Prim UI checkbox on the system startup graph. This initial implementation mimics the Python Panel.
Warning
Nocode UI will not respond when new options and categories are created and it is currently not supporting icons mapped within the data structure.
Tip
Because of the warning above, you can use the panel to preview the configurator structure and create the nocode UI prims as a last step.